Make It Your Own
here come the steps to create your backends, deploy the API, and get your endpoints
Step 1: Create a Firebase project
In the Firebase console, click Add project, then select or enter a Project name.(e.g. pencilr)
(Optional) If you are creating a new project, you can edit the Project ID.
Firebase automatically assigns a unique ID to your Firebase project. Visit Understand Firebase Projects to learn about how Firebase uses the project ID.
Click Continue
Click Create project
Step 2: Register Your App With Firebase
In the center of the Firebase console's project overview page, click the Web icon (</>) to launch the setup workflow.
If you've already added an app to your Firebase project, click Add app to display the platform options.
Enter your app's nickname.
This nickname is an internal, convenience identifier and is only visible to you in the Firebase console.
No need to setup “hosting”. Just uncheck hosting option.
Click Register app.
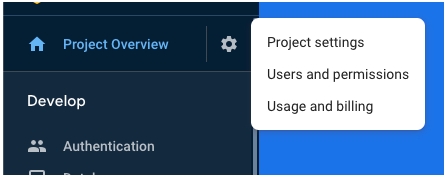
In the Firebase console, open Settings > Service Accounts.

Choose Nodejs, and then click Generate New Private Key, then confirm by clicking Generate Key.
Securely store the JSON file containing the key.
Step 3: Configure the database
Go to
Databases, click oncreate databasebutton, then chooseproduction modeand then clicknext. If there was nocreate databasebut you see this window

then, click on Go to Cloud Platform button. It will take to you google cloud console. You will see the following option

click on Swtich to native mode button. That's it.
in the Firebase console, go to
Databases > Rulesand update the rules with the following:
Go to
Databases > indexesand add indexes as follows:

Go to
Storage > Rulesand update it with the following:
Step 4: Update some files in the api folder
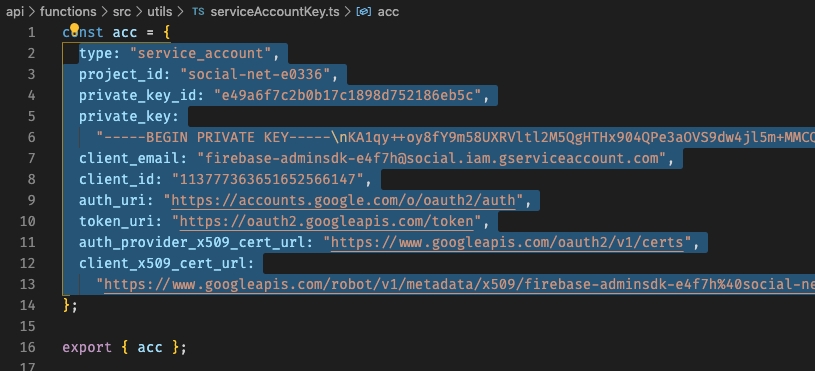
api folderCopy the content of the JSON file you saved in Step 2, copy everything between the braces {} and paste it here in
api/functions/src/utils/serviceAccountKey.tsfile:
Leave
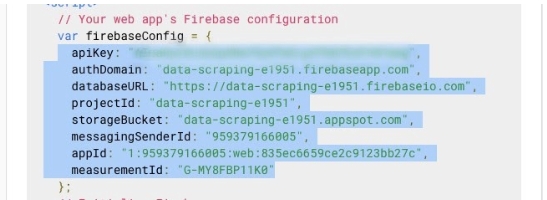
const accandexport { acc }as-isGo to the Firebase console, open Settings > General. Copy the following config:

and paste it in
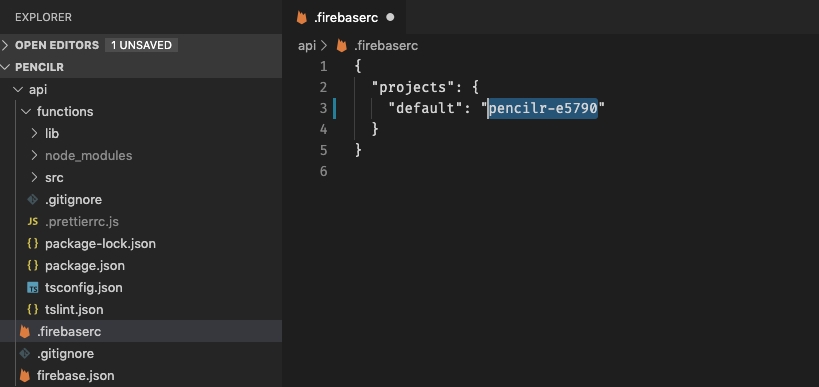
src/utils/config.tsChange the default project to the project name you just created. You can go to
api/ .firebasercfile
Install firebase CLI
Open your terminal and cd to
api/functionsdirectory
deploy your api to your firebase cloud by running the following commands
Copy your endpoint from your terminal or go to firebase console > your project >Functions.
Step 5: Update the endpoint in the app folder
app folderGo to
app/src/utils/config.tsfile and update the endpointsPencilrAPI.APIconstant variable.
Step 6: Registering your app with Facebook
Enroll as a Facebook Developer: In order to create a Facebook app, open Facebook Developer and login to your account.
Add new app: option from the drop-down menu in the upper right corner.
Set up Facebook Login: Once the App ID is created, Add a Product webpage opens. Click set up option under Facebook login.

Select the platform of your application : select iOS and Android

Add
host.exp.Exponentas an iOS Bundle ID.Add
rRW++LUjmZZ+58EbN5DVhGAnkX4=as an Android key hash.

Go to your facebook app dashboard and copy the app id

Go to
app/src/utils/config.tsfile and update theFBConfig.idconstant variable with your new id you have just created.
Step 7: Test The App:
run the following command:
Your browser will popup running a localhost server as follows:

Last updated